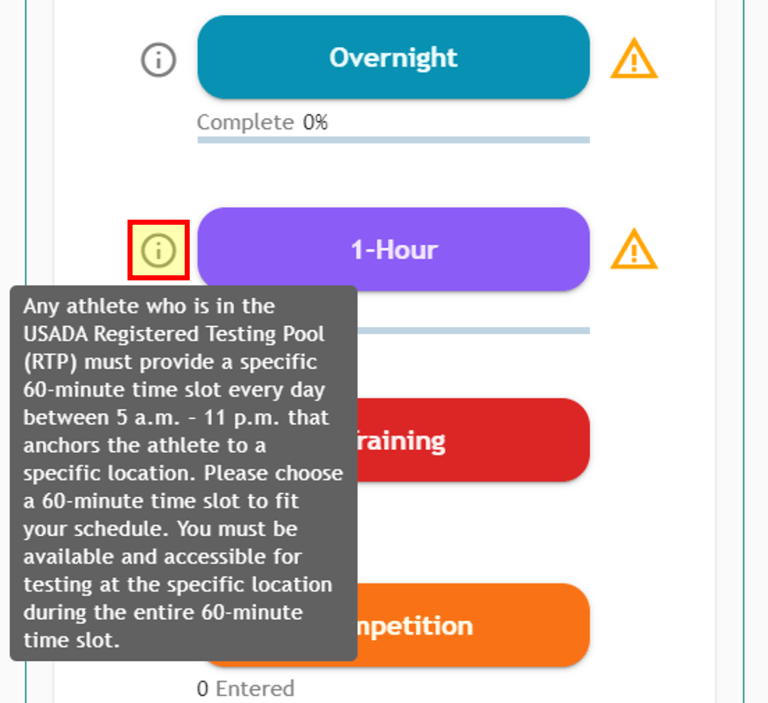
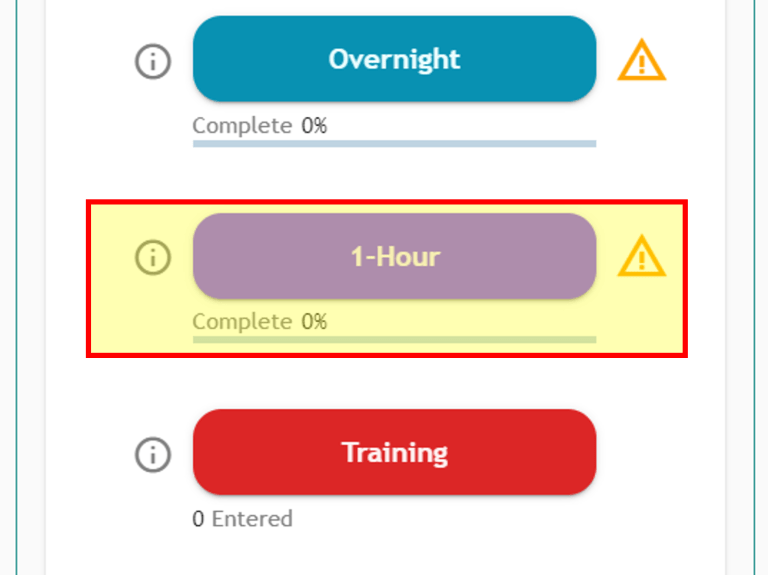
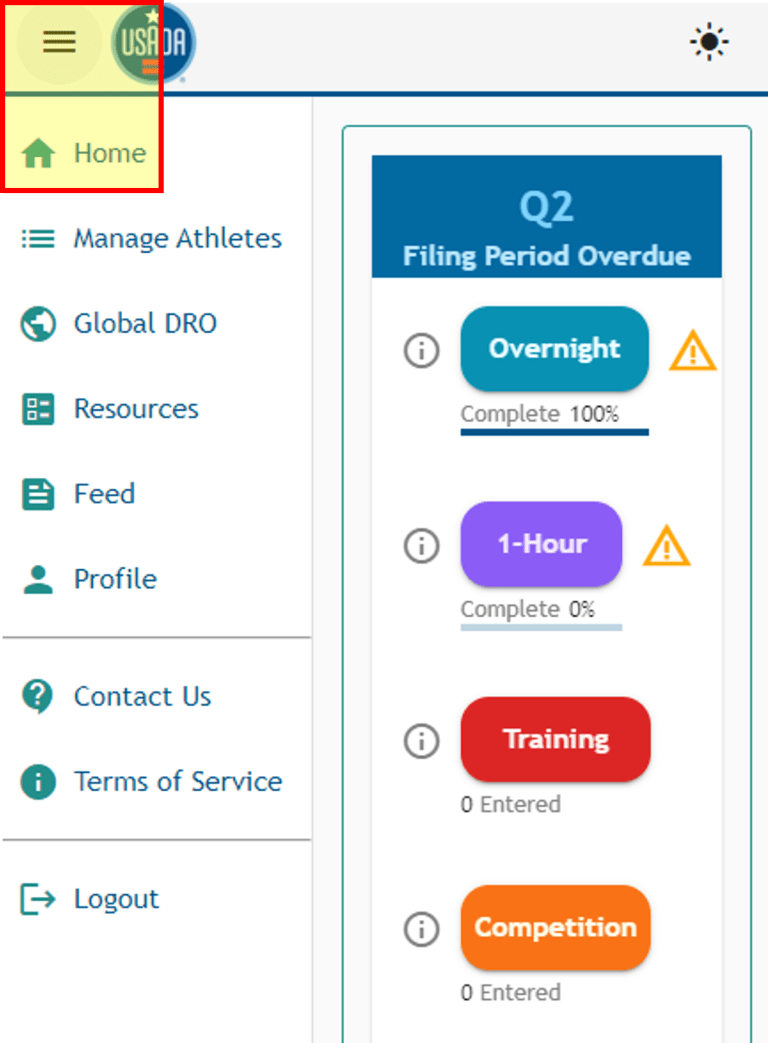
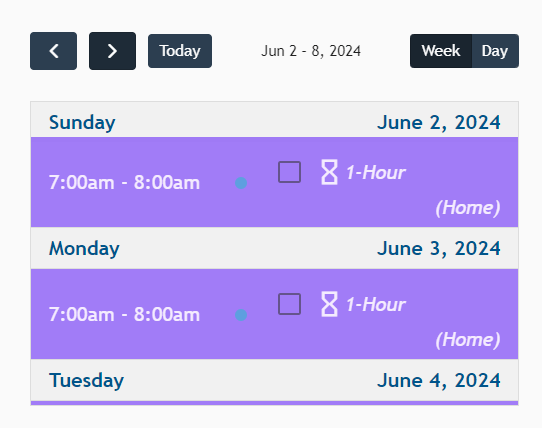
fbpx

U.S. Anti-Doping Agency (USADA)

Click here to log in to the
Athlete Connect application

Click here to log in to
Athlete Express

USADA logo with registered symbol.

Global DRO logo in whiteSearch Medications & Ingredients

Search
Search
Close this search box.

HOW TO ADD AND UPDATE A 60-MINUTE WINDOW

This guide provides step-by-step instructions on how to add and update a 60-minute (1-hour) window in the USADA Athlete Connect application. By following these instructions, athletes can ensure that their Whereabouts information is accurately recorded and updated, helping them comply with anti-doping responsibilities.

1. Open Athlete Connect on your mobile device, computer, or tablet.
2. Select the “Enter Missing Whereabouts Entries” header for the quarter you would like to file.
Athlete Connect enter missing Whereabouts entries screenshot.
3. Read the Whereabouts Filing Wizard welcome message and click “Continue” to advance to the next step.
Athlete Connect welcome to the Whereabouts Filing Wizard screenshot.
4. Take note of the “Complete %” bar located below the “1-Hour” button. You must be 100 percent complete before submitting your Quarterly Whereabouts Filing. To view what you are missing, click the hazard icon located to the right of the “1-Hour” button.
Athlete Connect complete highlight of 1-Hour entry screenshot.
5. Use the Athlete Connect "i" modal icon. “i” modal to the left of “Overnight” to learn about your 1-Hour requirements.
Athlete Connect "i" modal 1-hour highlight screenshot.
6. Click the “1-Hour” button to enter your 60-minute window details.
Athlete Connect 1-hour entry button highlighted screenshot.
7. Confirm that you have selected the “1-Hour” tab at the top of the application. Next, enter the start date for your 60-minute window. You can do so by manually entering the “mm/dd/yyyy” details or by selecting the calendar icon.
Athlete Connect 1-hour tab and date highlighted screenshot.
8. Click the “Start Time” field to enter the start time for your 60-minute window. Note that the start time cannot be in the past and must be between 5 a.m. and 11 p.m.
9. Select the appropriate repeats setting for your entry, such as “Every Day.” “Every Day” will allow you to apply your 60-minute window to a date range.
Athlete Connect repeats every day option highlighted screenshot.
10. Enter the date for your repeat 1-Hour entry to end. For instance, you can have it stop at the end of the quarter. You can click the calendar icon on the right side of the screen or manually enter the end date by clicking “mm/dd/yyyy.”
Athlete Connect repeats every day end date highlight screenshot.
11. Click the “Select a Location” dropdown to add the location for your 1-hour entry.
12. Select or add a new address for your 60-minute window location.
Athlete Connect selecting location screenshot.
13. Utilize the “Note” field to provide further details about how to locate you for testing at this location.
Athlete Connect note field highlight screenshot.
14. Navigate to “Home” in the menu bar. You may have to select the three-line icon in the top left corner to open the menu bar. This will show the calendar view.
Athlete Connect highlight of 3-line menu and Home icon screenshot.
15. Verify the 1-Hour entries are on the calendar for the times and days you expect.
Athlete Connect 1-hour calendar view screenshot.

Return to the Athlete Connect FAQs.

Scroll to Top