How to Access an Athlete’s Account as a Delegated User in Athlete Connect
HOW TO ACCESS AN ATHLETE'S ACCOUNT AS A DELEGATED USER
This guide provides step-by-step instructions on how to access an athlete’s account as a Delegated User. By following these steps, you will be able to navigate through the necessary dropdowns, icons, and fields to access and manage an athlete’s account effectively.
1. Open Athlete Connect on your mobile device, computer, or tablet. It’s important to note that an athlete must enroll you as a delegate before you will have access to their account.
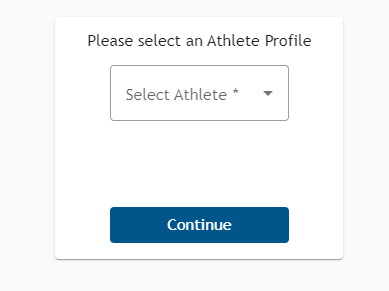
2. Once you log in, you will be presented with a dropdown list of athletes who have listed you as their delegate. You can serve as a delegate to multiple athletes. Select the athlete account you wish to access and click the “Continue” button.
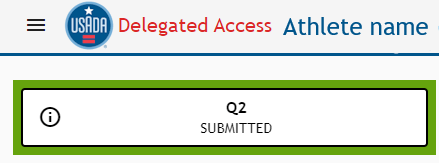
3. You will now see the words “Delegated Access” at the top in red, followed by the athlete’s name you selected.
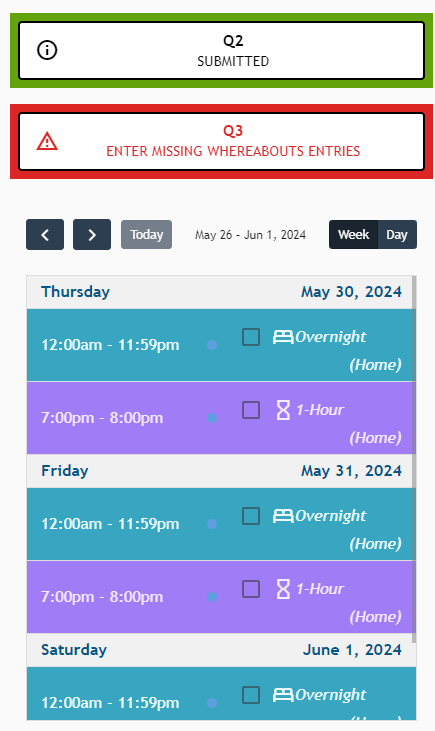
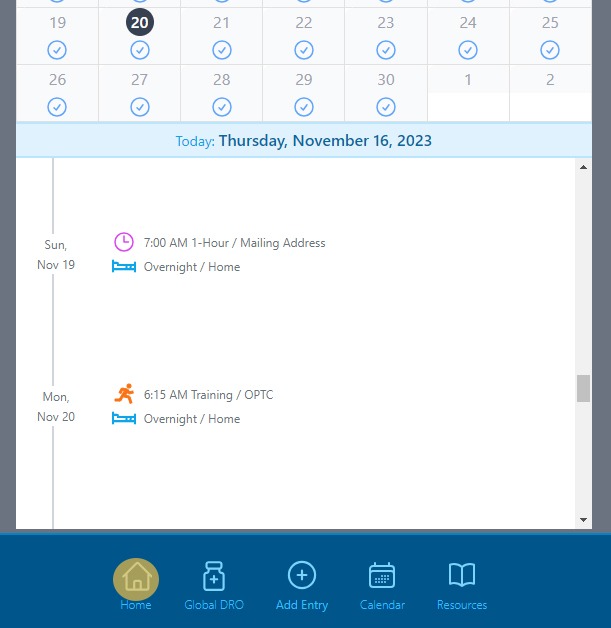
4. The calendar on this home screen will show you the current Whereabouts entries for the athlete. You can view, delete, and add to their calendar from this screen.
5. To delete an entry, select the checkbox next to an event and press the red “Delete” button that appears above.
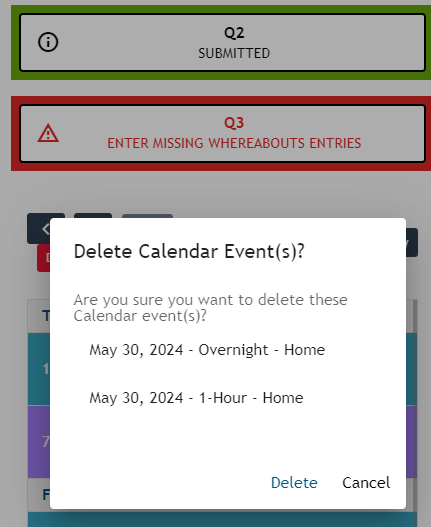
6. Confirm that you wish to delete the entry from their calendar by clicking the “Delete” option.
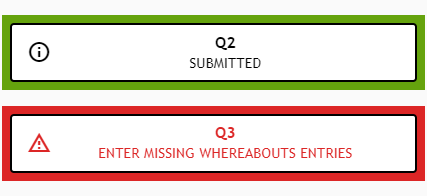
7. To add a new calendar entry, select the correct quarter header at the top of the Home screen.
8. Select the type of entry to add, such as “Training.”
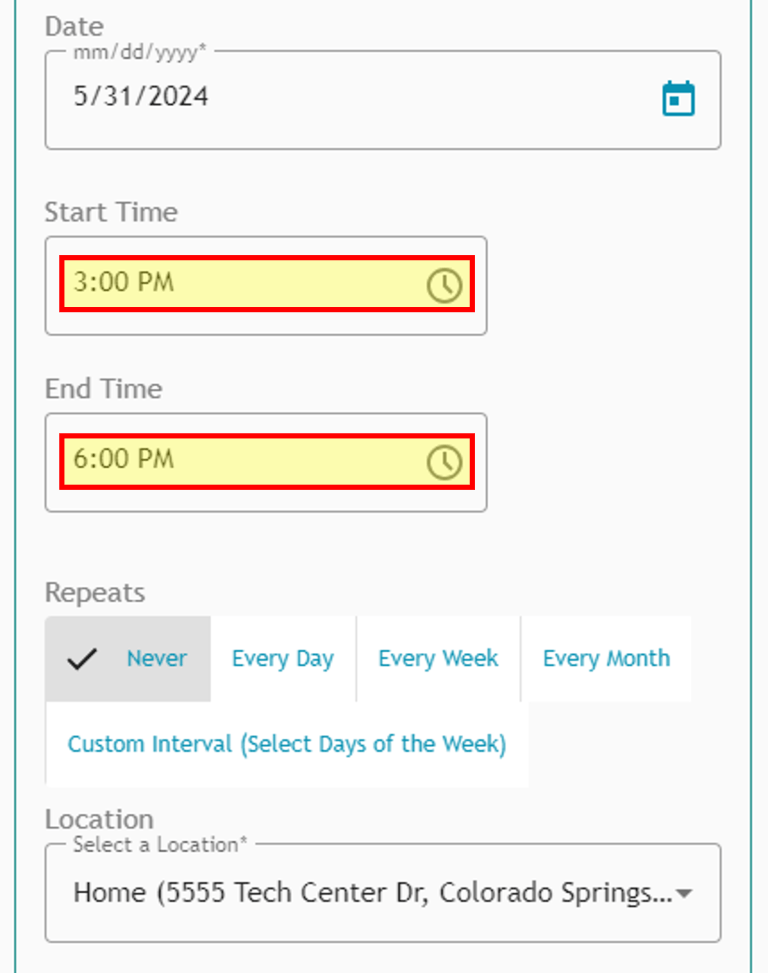
9. Click the “Calendar” icon to enter the start date for the new entry.
10. For a training entry, you will need to provide the start and end times.
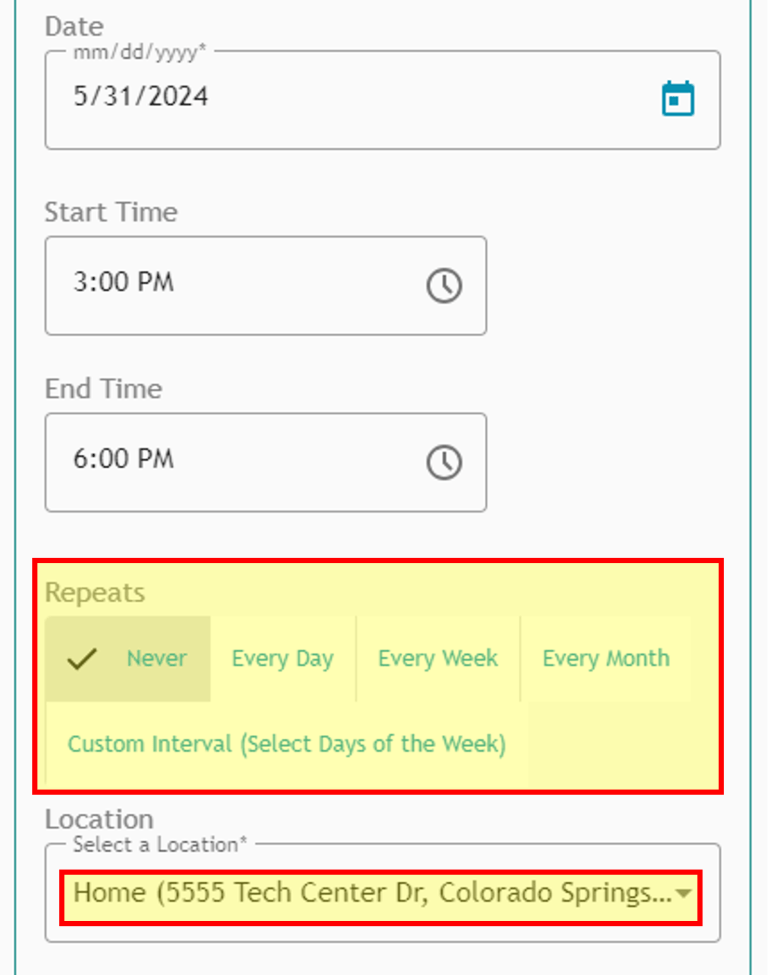
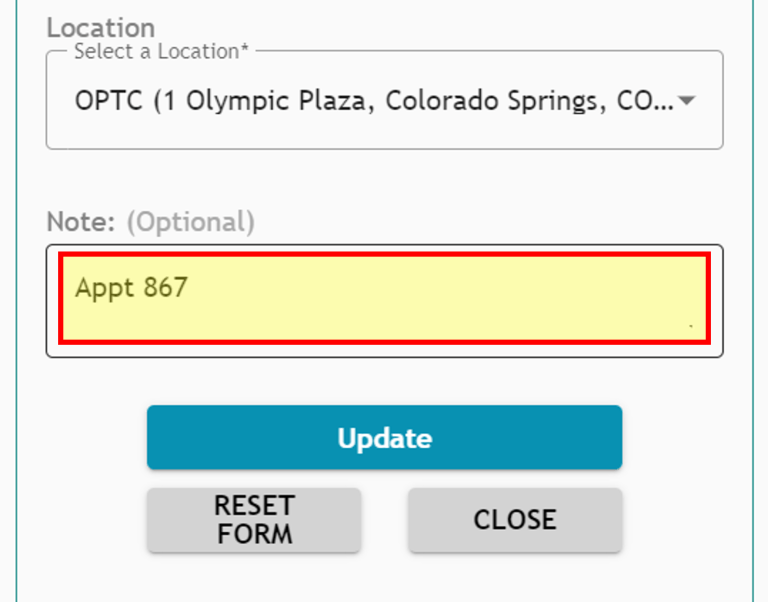
11. Enter the appropriate “Repeats” option and “Location” details.
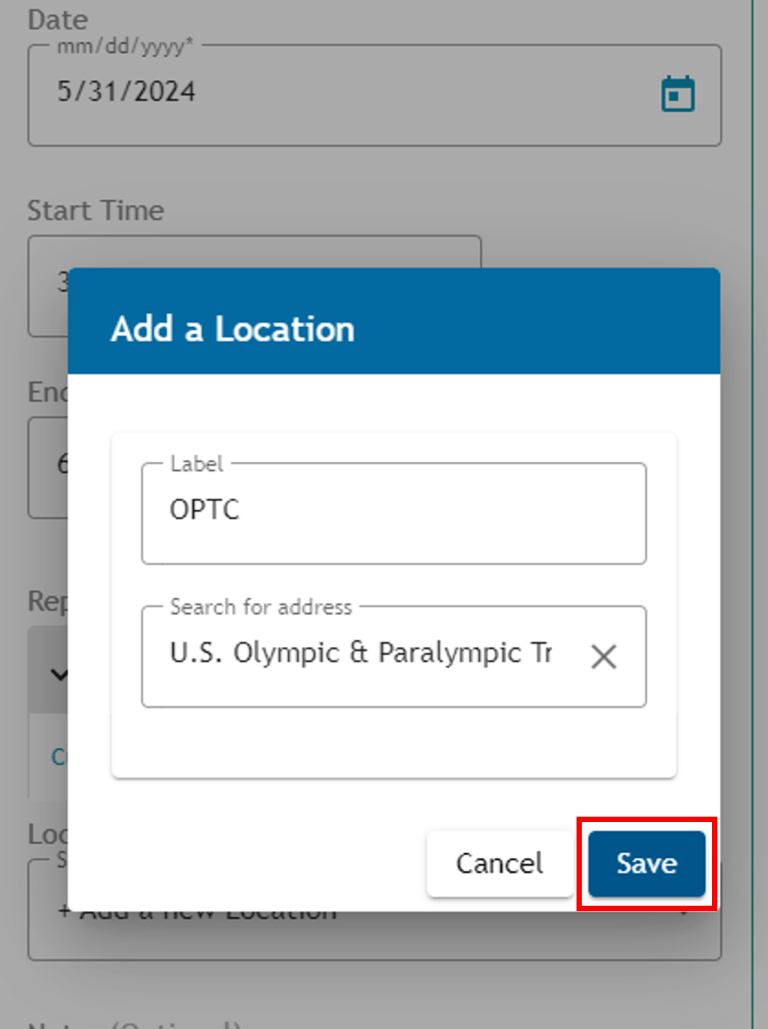
12. Make sure the Labels are clear and specific (e.g., OPTC, 24 Hour Fitness, etc.) If you entered details for a new location, click the “Save” button to move forward.
13. Be sure to add any additional information in the “Note” field that is necessary for locating the athlete (e.g., gate code, apartment number, etc.) Then click the “Add to Calendar” button to save the entry to the athlete’s calendar.
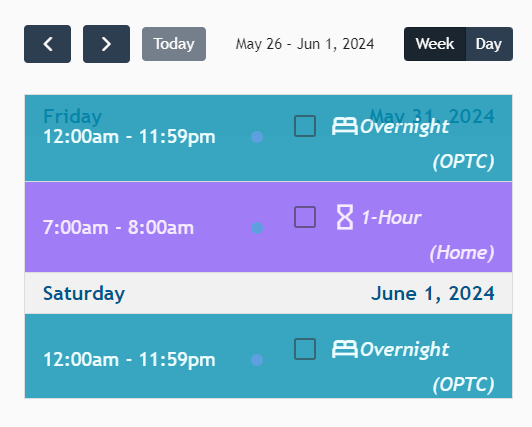
14. Check the athlete’s calendar to confirm that your entry was saved.
15. It’s important to note that you can also use the athlete’s account to check the status of medications via Global DRO. Navigate to “Global DRO” in the menu bar. You may have to select the three-line icon in the top left corner to open the menu bar.
16. You can access other essential anti-doping resources using the athlete’s account too.
17. The “Home” button will return you to the athlete’s dashboard.


 Search Medications & Ingredients